Are you tired of messy and unkempt flower beds in your garden? One of the most effective ways to achieve a sharp and clean look is by edging your flower beds properly.
Edging not only adds well-defined lines to your garden but also prevents soil and mulch from spilling onto your lawn and pathways, and stops the lawn from encroaching on your plants.
In this article, we will guide you through the step-by-step process of how to edge flower beds properly, recommend the necessary tools and materials, and explain the benefits of edging.
To start, proper planning and preparation are key to achieving a successful flower bed edge. You will need to choose the right edging material suited for your garden, determine the shape and size of your flower bed, and mark out the edge before cutting.
With the right tools and materials, you can achieve a sharp and clean edge that will make your garden stand out. So, let’s get started on how to edge your flower beds like a pro!
Planning and Preparation
Before you start creating beautiful lines in your garden, take a moment to plan and prepare – this step is essential to ensure that your garden looks its best and reflects your attention to detail.
First, consider the location and shape of your flower bed. Make sure it’s in an area that gets enough sunlight and is easily accessible. Then, use a garden hose or string to outline the area you want to edge. This will help you visualize the end result and make any necessary adjustments.

Next, try out different shapes and sizes to see what works best for your garden. You can create straight lines, curves, or a combination of both. Keep in mind that curves require a bit more skill and precision to execute properly.
Once you’ve settled on a shape, make sure your bed is large enough to accommodate it. A small or cramped bed will detract from the overall look of your garden.
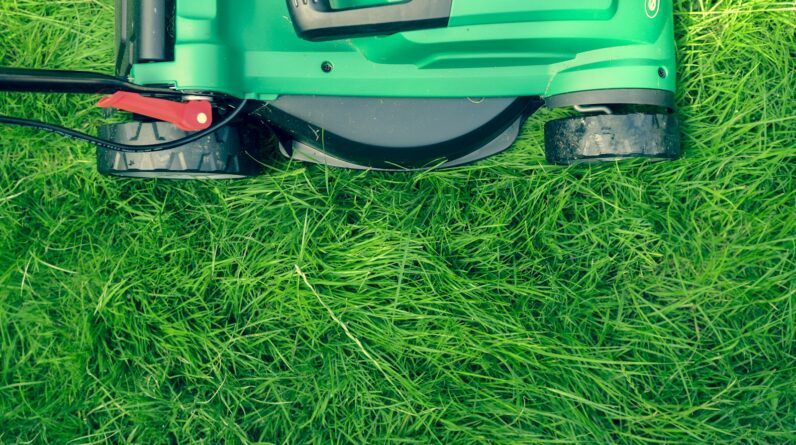
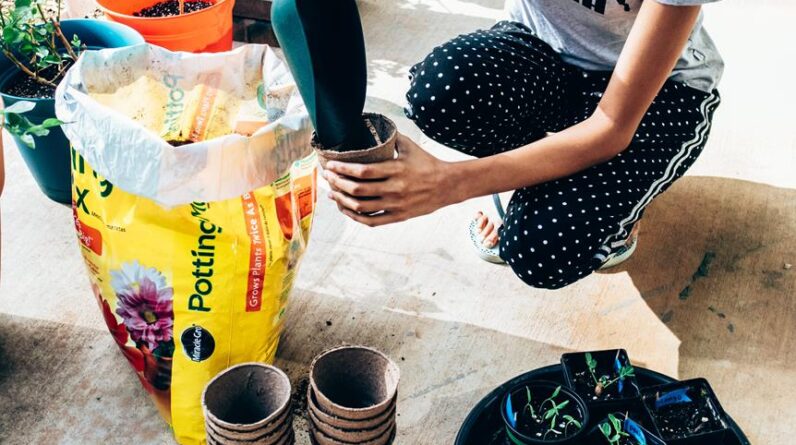
Finally, gather all the tools and materials you’ll need for the job. You’ll need a sharp spade or edger, a flat-edged shovel for straight lines, and edging materials that complement your garden’s style. Mulch is also essential to retain moisture and suppress weeds.
By preparing properly, you’ll be able to edge flower beds like a pro and achieve a beautiful, well-defined look that will impress your guests.
Cutting the Edge
Get a clean and professional look for your garden by using the right tools and techniques to create sharp and defined lines around your beautiful blooms.
With the proper planning and preparation out of the way, it’s time to cut the edge. Begin by using a sharp spade or edger to cut along the lines you’ve created. Keep the depth and angle consistent for a clean and even edge.
When cutting straight lines, use a flat-edged shovel. This will help you maintain a straight line and prevent any unwanted curves or bumps. Remember to keep the spade or edger at a consistent depth throughout the cut. A depth of about 4 inches is recommended to ensure that the edging material fits snugly and securely.
Once you’ve completed cutting the edge, take a moment to remove any weeds or grass that may have crept into the bed. This will help ensure that your edging material fits properly and looks neat and tidy.
Next, you’ll be ready to install your chosen edging material and complete the look of your perfectly edged flower bed.
Installing Edging Material
Now it’s time to give your garden that polished finish by installing the edging material of your choice. This will not only add a beautiful finishing touch to your flower beds, but it will also help to keep mulch and soil in place, while preventing grass and weeds from encroaching on your plants.
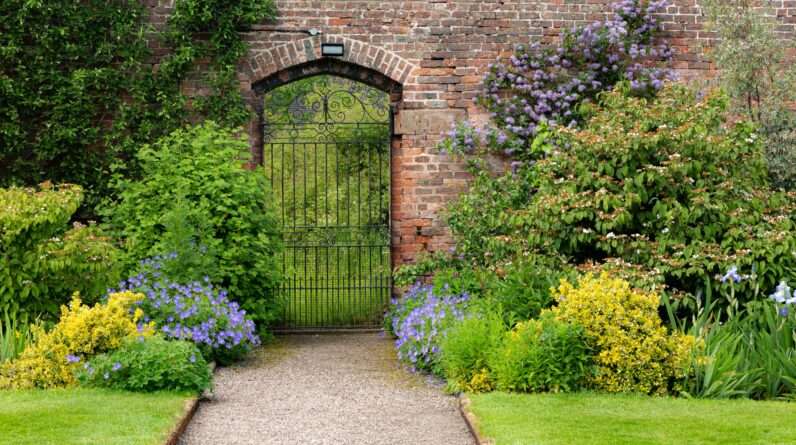
There are many different types of edging materials to choose from, ranging from simple plastic or metal strips to more decorative options like bricks or stones. When installing your edging material, start by digging a shallow trench along the edge of the bed that is about the same depth as the material you have chosen.
Then, lay the edging material in the trench, making sure it is level and secure. If you are using a flexible material like plastic or rubber, be sure to use stakes or other supports to hold it in place. For a more decorative look, try using bricks or stones to create a more rustic, natural border.
Once your edging material is in place, take some time to step back and admire your work. You’ll be amazed at how much of a difference a well-defined edge can make to the overall look of your garden. And with the right choice of materials, your new edging can provide long-lasting beauty and functionality for years to come.
But don’t forget that regular maintenance and repairs will be necessary to keep your flower beds looking their best.
Maintenance and Repairs
To keep your garden looking sharp and well-maintained, you’ll need to stay on top of maintenance and repairs, which may require some time and effort but are well worth it in the long run.
One of the main things you’ll want to do is regularly check for any damage or movement in your edging material. This will help keep your lines looking clean and tidy, and prevent any unsightly gaps or shifts.
If you do notice any damage or movement, it’s important to make repairs as soon as possible. This might mean removing the damaged section and replacing it with a new piece of edging material, or simply re-positioning the existing material to ensure a tight fit.
You’ll also want to keep the area clear of debris and weeds, as these can quickly fill in any gaps and disrupt the clean lines of your flower beds.
To make your maintenance and repairs easier, it’s a good idea to have some recommended tools and materials on hand. These might include a flat-edged shovel for straight lines, the Fiskars 38.5 Inch Long-handle Steel Edger for curved lines, and the Edge Right Hammer-in Landscape Edging for neatly defined edges.
You’ll also want to have some bricks and stones on hand for a rustic look, as well as mulch to retain moisture and suppress weeds.
With these tools and materials at your disposal, you’ll be able to keep your flower beds looking their best year-round.
Recommended Tools and Materials
It’s crucial to have the right tools and materials on hand for maintaining the clean and tidy lines of your garden. So, make sure you’ve got a flat-edged shovel, the Fiskars 38.5 Inch Long-handle Steel Edger, the Edge Right Hammer-in Landscape Edging, bricks and stones for a rustic look, and mulch to retain moisture and suppress weeds.
The flat-edged shovel is perfect for creating straight lines, while the Fiskars edger is ideal for curved lines and precision cutting. The Edge Right edging material is easy to install and will keep your garden beds looking neat and tidy.
When it comes to adding a rustic touch to your garden, bricks and stones are great for creating a natural-looking edge. They also offer a sturdy barrier between your garden beds and the surrounding lawn or pathways.
Mulch is another important material to have on hand, as it helps retain moisture and suppress weeds. Make sure to choose a mulch that complements the style of your garden, whether it’s a natural wood chip or a decorative stone.
Having the right tools and materials not only makes maintenance and repairs easier, but it also helps create a cohesive and polished look for your garden. By investing in the proper equipment, such as the Fiskars edger and Edge Right edging material, and using materials that complement your garden’s style, like bricks and mulch, you can keep your garden beds looking beautiful and well-maintained year-round.
Conclusion
Congratulations! You’ve successfully learned how to edge flower beds properly.
By following the steps outlined in this article, you’ve not only improved the appearance of your garden, but also prevented soil and mulch from encroaching on your lawn and pathways.
Remember, edging is an ongoing process that requires regular maintenance and repairs. With the right tools and materials, you can maintain a sharp and clean edge all season long.
As the famous proverb goes, “A garden is a thing of beauty and a job forever.” Embrace the process and enjoy the fruits of your labor as you admire your neatly edged flower beds.