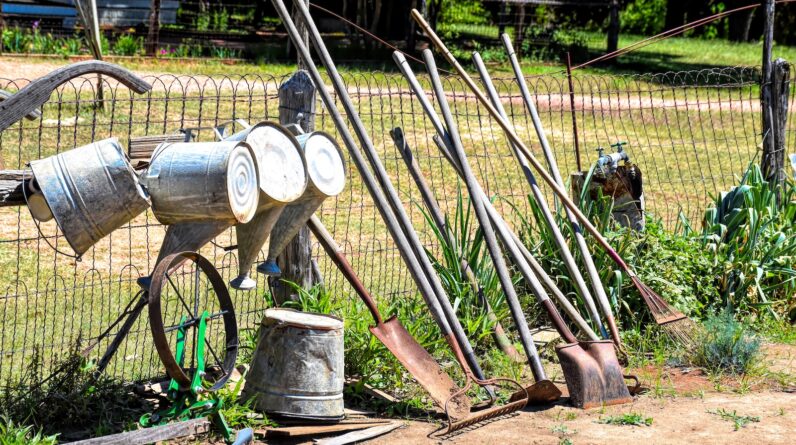
Are you tired of your garden tools cluttering up your space? Look no further! With our DIY garden tool rack, you can build an efficient storage system that will keep your tools organized and easily accessible.
In this article, we will guide you through the process of:
- Choosing the right location
- Gathering materials
- Measuring and cutting the wood
- Assembling and securing the frame
- Adding hooks and hangers
- Finally, installing and organizing your tools.
Get ready to master the art of garden tool organization!
Key Takeaways
- Choosing a convenient and easily accessible location for the tool rack is important.
- Exploring options like a wall-mounted tool rack or pegboard system can help maximize storage space.
- Using sturdy and weather-resistant materials like wood and galvanized screws is crucial for durability.
- Organizing tools with hooks and hangers, and regularly maintaining them, can optimize efficiency in gardening.
Choosing the Right Location for Your Garden Tool Rack
You should place your garden tool rack in a convenient location that's easily accessible. One option is to install a wall-mounted tool rack, which can help keep your tools organized and easily accessible. Another option is to use a pegboard system, where you can hang your tools on hooks or pegs. Consider creative alternatives to traditional garden tool storage to make the most of your space. When it comes to maximizing storage space in a small garden shed, it's important to utilize every inch wisely. This allows you to customize the layout and easily move things around as needed. By choosing the right location for your garden tool rack, you can optimize efficiency and make your gardening experience more enjoyable.
Now, let's move on to gathering the necessary materials for your DIY project.
Gathering the Necessary Materials for Your DIY Project
To build an efficient garden tool rack, you'll need a few materials and tools. Here's a list of what you'll need:
- Wood: Choose a sturdy and weather-resistant wood, such as cedar or pressure-treated lumber, for the frame and shelves of your tool rack.
- Screws and nails: Use galvanized screws and nails to ensure durability and resistance to rust.
- Hardware: Get brackets, hooks, and hangers to attach your garden tools securely to the rack.
Choosing the right tools for your garden project is crucial. Opt for high-quality tools that are suitable for the tasks you'll be performing. Additionally, here are some tips for maintaining your garden tools: clean them after each use, sharpen blades regularly, and store them in a dry place to prevent rust.
With all the necessary materials gathered, you're now ready to move on to the next step: measuring and cutting the wood for the tool rack frame.
Measuring and Cutting the Wood for the Tool Rack Frame
First, always carefully measure and accurately cut the wood for your tool rack frame to ensure a precise and sturdy structure. Woodworking techniques play a crucial role in creating a functional and durable storage system for your garden tools.
Start by measuring the length, width, and height of the desired tool rack frame. Use a tape measure to get accurate measurements and mark the wood accordingly.
Next, use a circular saw or a miter saw to make clean and straight cuts. Ensure that the cuts are made at the correct angles and dimensions. Remember to prioritize safety by wearing protective gear such as safety glasses and gloves.
Assembling and Securing the Tool Rack Frame
With the wood pieces cut and ready, now it's time to start assembling and securing the tool rack frame using screws and a power drill. To ensure the stability of your tool rack, follow these assembling techniques:
- Place the vertical side pieces on a flat surface, ensuring they're parallel to each other and evenly spaced.
- Attach the top and bottom horizontal pieces to the vertical sides, using screws and a power drill. Make sure the corners are aligned properly for a sturdy frame.
- Reinforce the structure by adding diagonal braces to the back of the frame. Measure and cut the braces to fit diagonally from the top corner to the bottom corner of each side. Attach them securely with screws.
By following these steps, you'll create a solid tool rack frame that can withstand the weight of your gardening tools.
Once the frame is complete, you can move on to the next step of adding hooks and hangers for different types of tools.
Adding Hooks and Hangers for Different Types of Tools
Hang various types of tools on the hooks and hangers to maximize the efficiency of your DIY garden tool rack. By customizing the tool rack for your specific needs, you can create a storage system that maximizes storage space and keeps your tools organized and easily accessible. Consider the following table to get a clear image of how to arrange your tools on the hooks and hangers:
| Tool Type | Hooks/Hangers |
|---|---|
| Shovels | Large hooks |
| Rakes | Long hangers |
| Hand tools | Small hooks |
| Garden hoses | Hose hangers |
| Pruners | Tool clips |
| Gloves | Small hooks or pegs |
With this setup, you can optimize your storage space and ensure that each tool has a designated spot. Installing the garden tool rack and organizing your tools is the next step in creating an efficient gardening workspace.
Installing the Garden Tool Rack and Organizing Your Tools
Once you have gathered all your tools and determined their designated spots, it's time to install the garden tool rack and start organizing. Follow these steps to efficiently organize your tools and maintain your tool shed:
- Install the garden tool rack: Choose a wall in your tool shed where you want to mount the rack. Use a stud finder to locate the studs in the wall and mark their positions. Secure the rack to the studs using screws or nails. Make sure the rack is level and stable before proceeding.
- Hang your tools: Hang your tools on the rack, making sure each tool has its designated spot. Use hooks, hangers, and clips to secure the tools in place. Group similar tools together for easy access and organization.
- Maintain your tools: Regularly clean and inspect your tools to keep them in good condition. Remove any dirt or debris and oil any moving parts. Sharpen blades and replace any worn-out or damaged parts. Proper maintenance will extend the lifespan of your tools and ensure they're always ready for use.
Frequently Asked Questions
How Do I Determine the Ideal Height for My Garden Tool Rack?
To determine the ideal height for your garden tool rack, consider the length of your tools and the accessibility you desire. Measure the longest tool and add a few inches for clearance. This ensures efficient storage and easy access.
Can I Use Alternative Materials Other Than Wood for the Tool Rack Frame?
You can use alternative materials for the tool rack frame, such as metal or plastic. Metal is durable but may rust, while plastic is lightweight but less sturdy. Consider the pros and cons before making a decision.
Are There Any Additional Safety Precautions I Should Take While Assembling the Tool Rack Frame?
When assembling the tool rack frame, it's important to take additional safety precautions. Make sure to wear protective gear like gloves and goggles, and have the necessary equipment, such as a drill and screws, ready.
What Are Some Tips for Organizing My Tools Efficiently on the Garden Tool Rack?
To efficiently organize your garden tools on the rack, try these hacks: hang smaller tools using hooks, use magnetic strips for metal tools, and maximize space by arranging tools based on frequency of use.
How Do I Maintain and Clean the Garden Tool Rack to Ensure Its Longevity?
To maintain and clean your garden tool rack for longevity, follow these tips: regularly remove dirt and debris, wipe down with a damp cloth, apply a rust-resistant coating, and store tools properly to prevent rust.

